
Cleaning the fridge is a tedious, overwhelming task. With food continuously going in and out of the fridge, it’s also no wonder that it’s one of the dirtiest places in the kitchen. All the more reason to have it deep cleaned every few months or so.
Here is how to deep clean your fridge:
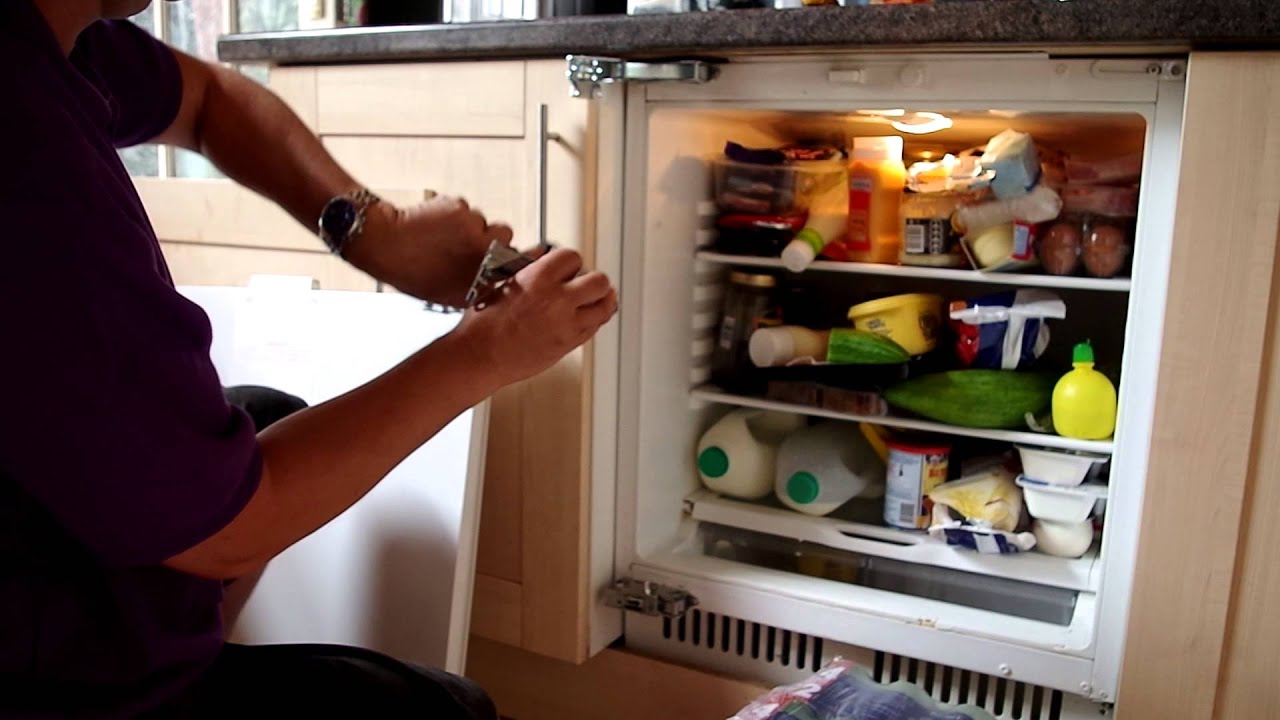
- Emptying the fridge
![]()
It’s very tempting to clean up and throw away the contents of the fridge, but it would be wiser to throw away what is needed and keep the food you need.
a) check use-by dates and bin anything that’s expired
b) wipe the underside of sticky bottles and jars before you transfer them
c) put meat and dairy products in a cool bag with freezer blocks, especially if it’s a hot day (bacteria will multiply speedily at room temperature).
If possible, cleaning your fridge before or after shopping delivery to life easier. Other than that, you’ll need to completely clear the fridge before your cleanup job.
- Taking out the shelves and fittings
The cold temperature, room temperature or hot water can make or break your cleaning process. Breaking or cracking a plastic shelf will dampen your cleaning mood, but it is exactly what would happen if you try to forcibly take out the inner shelves and fittings. Even more dangerous if you immediately put it in hot water.
Our advice is to take it step by step. First, switch off the fridge and let the plastic come to room temperature before you remove it. After letting it warm up to room temperature (work on the fridge’s interior while you wait), you can then put it into hot soapy water to let it soak.
- Cleaning the interior of the fridge
- How to clean a fridge with vinegar
Now is the time to spray the fridge’s interior with a solution of distilled vinegar and water, putting more on any areas with dried on gunk. Let the solution soak while you clean the shelves you have removed earlier. The next step is to go back to your fridge and wipe it out thoroughly with a soft, damp cloth (rinse and squeeze it out regularly). This solution is not only effective at removing sticky solutions and germs, but fridge smells, too. Let the fridge dry thoroughly before you put the food back in and shut the door.
- How to clean a fridge with baking soda
The downside to using chemical products, is that it can leave behind smells which can be absorbed by your food. Using cleaning products such as baking or bicarbonate of soda, is therefore better – especially as cleaning with baking soda will stave off fridge smells at the same time. If it’s not too dirty, you can simply wipe a paste made of hot water and bicarbonate of soda to the fridge’s interior with a soft, damp cloth, then rinse off with a clean cloth and dry with kitchen roll. For stubborn pieces of food, leave the wet paste on to soak in for 10 minutes or so, then wipe off once it’s softened.
- Clean your fridge’s drain hole
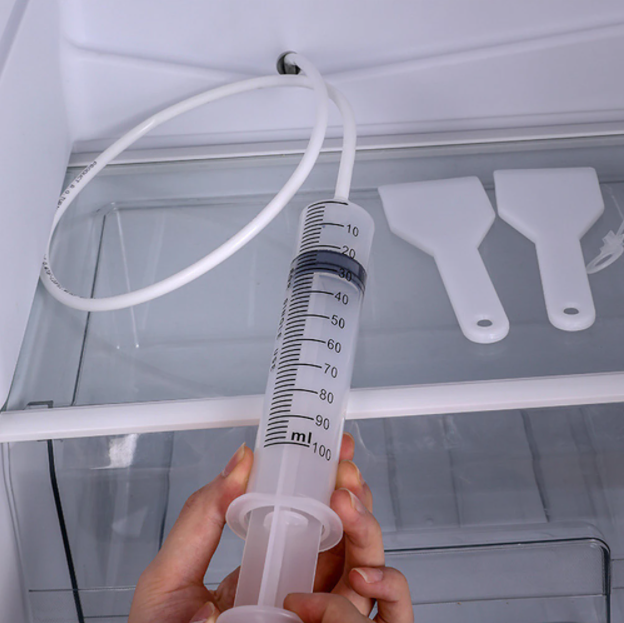
Although your fridge is working fine and with no pools of water, it’s good to include cleaning the draining hole for the deep clean. Of course, the first step is to remove the vegetable drawers from the fridge, then use a drain hole cleaning device to work out the blockage.
If whatever was clogging up the hole has been there for a while, there’s a high chance that there’s also mold and mildew at the back of the fridge. That, you can get rid of by using a basting syringe to pour a small amount of vinegar and water into the drain hole. Afterwards, use a cotton bud to clean up the remaining deposits around the hole with vinegar/water solution. Use the vinegar and water to wipe the bottom of the fridge before returning the vegetable drawers.
- Clean the fridge drawers
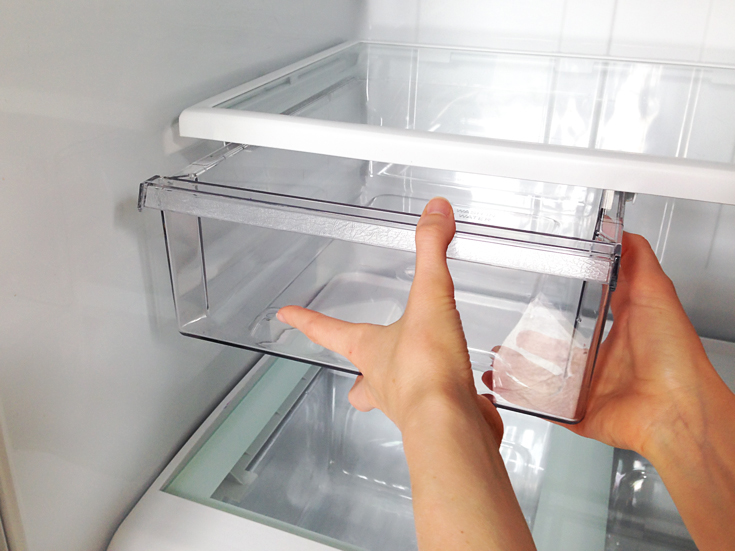
Now that you have removed the fridge drawers, it’s time to clean it. Wiping the drawers is not enough, as there are grimes that collects in the corners especially if you tend to store vegetables without packaging.
Here is how to do it: The first step is to take out the drawers, then soak it in warm soapy water. Then, scrub the insides with a bottle brush or old toothbrush. Then rinse, pat dry and replace. If you’re running out of counter space or are worried about forgetting where everything goes in your refrigerator – easily done – wash, dry and replace one basket or drawer at time.
- Clean the fridge shelves
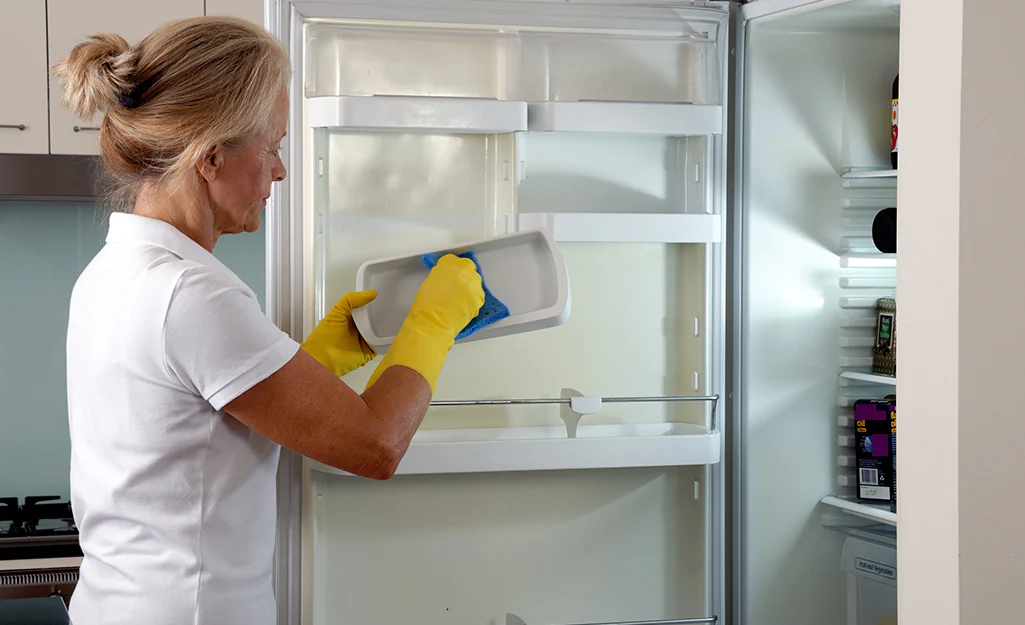
Now that you have removed the shelves and cleaned it using water and soap, it’s time to get to the hard-to-reach areas. Use a toothpick and run it along the joins in the shelf then wipe away whatever it collects. A cotton bud is also useful for getting food out of grooves in the fridge’s interior, too. As is an old toothbrush.
Another method of cleaning your shelves, drawers and fridge bins is by using a couple of tablespoons of bicarbonate of soda in warm water other than using soap and water. Do not use a dishwasher, as the water is too hot, especially for the plastic.
- Clean the fridge seals
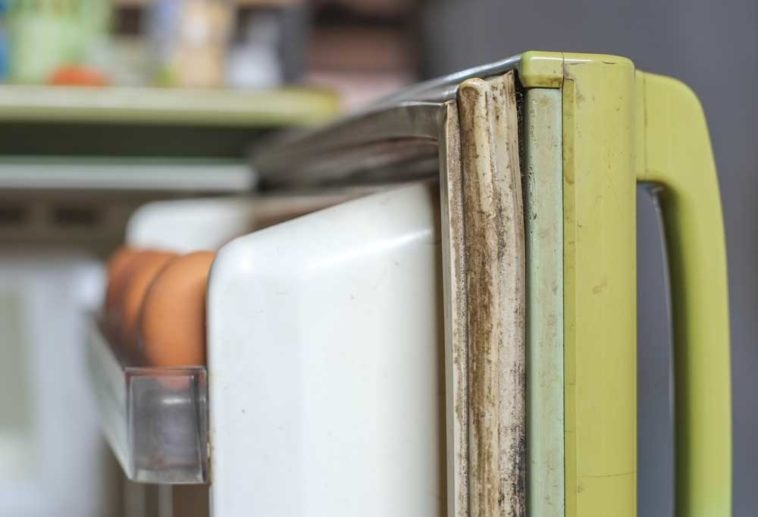
Hidden from sight it may be, but the fridge seals collect crumbs and spills. This may hinder its ability to work properly. Clean it up by vacuuming into it with a crevice tool or use a stiff washing up brush/ cleaning toothbrush.
As there is still gunk on hard-to-reach parts, take a soft cloth, wrap it around a blunt knife, dip it in that vinegar/water solution, and run it gently along the crevices. Next use a dry cloth or kitchen towel to repeat the process to ensure the crevices are hygienically dry before you shut the fridge door again.
- Clean the freezer section
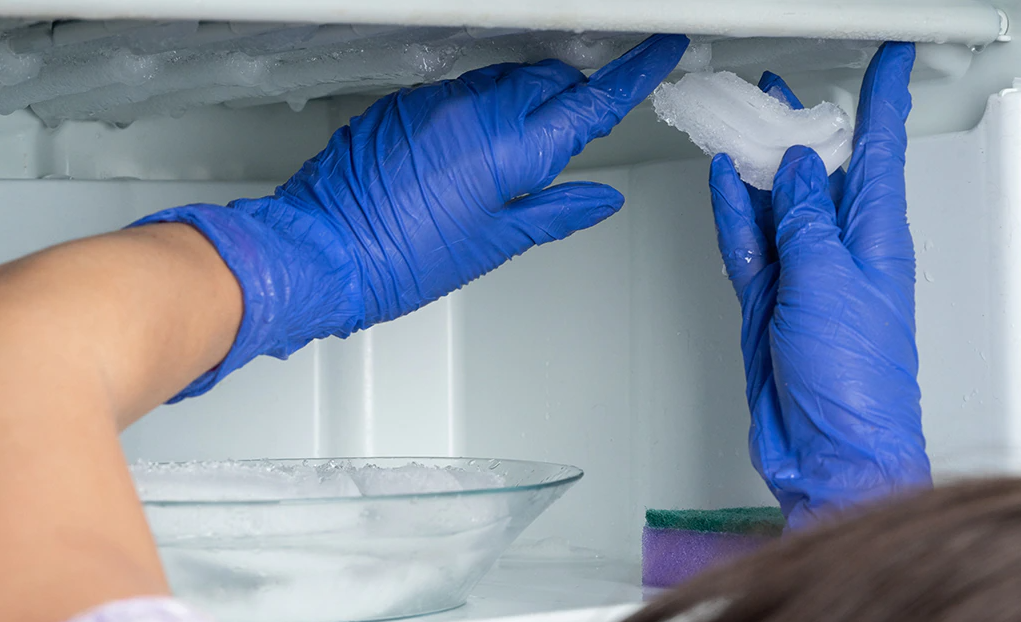
Now that you have come this far, it’s time to clean the most problematic section in the fridge: the freezer. Place a towel at the bottom of the freezer to avoid water spills when defrosting it.
Switch the freezer off at the mains, then stash any food into a freezer bag so it could stay frozen.
Leave the door open for a few minutes to allow the ice to start melting. Meanwhile, you could be tackling the fridge now if you’re going for time-efficiency. Then use a freezer defroster ice shovel to remove the biggest chunks of ice, being careful of the freezer’s lining.
Fill a spray container with equal parts of warm water and distilled vinegar and spray the freezer walls. Use a soft cloth to work the water/vinegar mix into the surfaces, then dry thoroughly.
- Wait for the fridge and freezer to cool before restocking

After the fridge is thoroughly cleaned and dried, shut the door and wait for the temperature to reach 4°C or below to place the food. If possible, use the fridge’s fast-cool function if it has one to quicken the cooling process. Similarly, wait until the freezer is up to -18ºC before you put the food back in.
- Clean the exterior of the fridge
Since you’ve been using soapy water or baking/bicarbonate of soda inside the fridge, you might as well use it to clean the exterior of the fridge. Wet a soft cloth, pour the soda and you’re good to go. Pay special attention clean the top of the appliance’s doors (since those can become sticky) and the areas around handles as it is filled with grime from constant contact.


