 Pressing flowers is fun!
Pressing flowers is an ancient art form. Botanists from both the Greek and Roman periods were known to preserve plants using techniques that continue today.
Most people like to preserve items with sentimental value, even flowers. Whether they were a gift from a friend, for Mother’s Day or from your significant other, flowers bring a joy that we want to make last. To preserve your beautiful blooms, as well as those special memories, try flower pressing. Flower pressing is a fascinating and delightful hobby. You’ll be amazed to see how quickly you can get started.
You don’t even have to be very artistic. The flowers do it all for you! And it’s so quick and easy to learn.
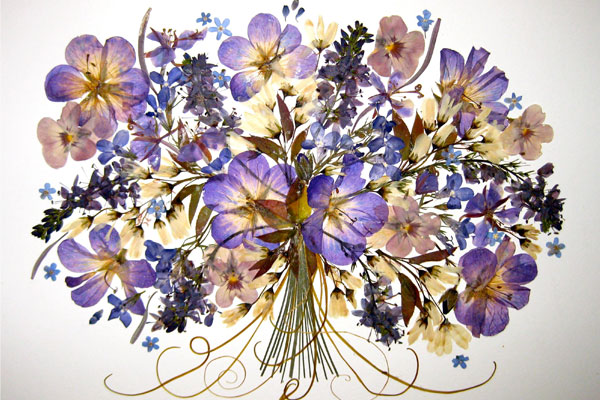
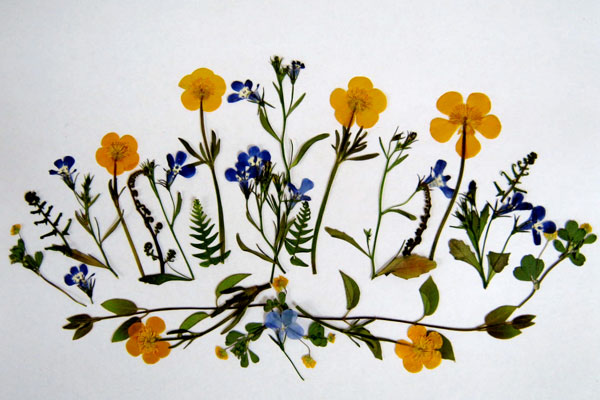
You can also turn your flower pressing craft to create beautiful cards, wall hangings, decoupage or whatever you can imagine.
5 Simple Craft Ideas for Pressed Flowers
- Flower Documentation: Arrange the flowers between two pieces of waxed paper and cover the top of the waxed paper with a thin dish towel and iron. The wax will seal the flowers. When the waxed paper cools, use a permanent marker to write the plant name, the year it was grown and notes about it to add to your garden journal/record keeping.
- Bookmarks: Arrange pressed flowers on cardstock paper or recycled greeting cards cut into bookmark sized strips and laminate.
- Framed with a Poem: Copy a favorite poem onto handmade or textured paper. Place flowers around the poem to accent it. When you are happy with the arrangement use a tiny dot of tacky glue to secure each dried plant. Let dry and frame as usual.
- Handmade Cards/Stationery: Purchase plain card stock paper or handmade paper and fold in half into a card shape. Use tacky glue to secure flowers and spray with a clear sealant if desired.
- Place Settings/Mats: Use 11 X 14 inch heavy cardstock paper as a background for place mats and smaller cuts of heavy cardstock paper for place settings. Arrange flowers around names in calligraphy and laminate.
You don’t need expensive tools and equipment. They are easy to acquire and if you like, you can make most of them yourself.
How to Press Flowers Creatively
The Art of Pressing Flowers: The art of pressing flowers is something that you can easily learn. You only need a little help and you will soon be on your way. It’s an inspiring and creative hobby.
You’ll be surprised to see how easily you can learn how to preserve and press flowers for a fun-filled hobby.
Whichever method of pressing you choose, the same tips apply to picking the flowers. Never bother to press flowers that are past their best, put half dead flowers into a press and you’ll get squashed half dead flowers out afterwards – the presses are not magical resuscitation machines that rejuvenate a tatty bruised blossom into a thing of beauty. Pick the cream of the crop, perfect blooms in their prime, on a dry day and trim the backs of the flowers so that there are no unnecessarily bulky parts to get in the way of a smooth, flat finished specimen.
Traditional flower pressing
Book pressing: Pressing flowers between pages of heavy books has been a popular pastime for many hundreds of years. Sometimes antique family bibles still hide floral treasures that have been sitting between the pages since a mother kept a wildflower presented by a young child, or a young girl hid a flower from her beloved.
You can use any thick books with absorbent pages. Make sure your flowers are trimmed and are 100% clean and dry. Place the flowers between the pages and then add extra weight on top to press them down – leave to dry for maybe 4 weeks or so.
Using a flower press: Traditional flower presses are easily available from most craft stores and consist of two pieces of wood with a screw at each corner. The press is filled with a sandwich of absorbent paper. You cal also use newspaper and blotting paper – start with a wad of newspaper and then place a sheet of clean absorbent paper on top, lay out some flowers and cover with another sheet of absorbent paper. Then add another wad of newspaper, then absorbent paper and more flowers etc. You can often get at least 5-10 layers in a press quite successfully. Again, remember to label the press with a date and maybe its contents.
Ironing: For a speedier approach to pressing, place your flowers between two sheets of absorbent paper and lie flat on an ironing board. Empty your iron of water and set on a low setting without steam. Press the iron on top of the paper, without moving it, for 10 seconds. Allow to cool for 10 seconds. Repeat this until the flowers are dry.


