 Expand your child’s love of books by making a creative book. This wonderful activity with your child is a pleasure and a learning opportunity.
There are many kinds of homemade books and these can be scrapbooks with photographs, little souvenirs or you could write poems and even stories with your children to illustrate.
IDEAS FOR YOUR BOOK
-
A book of me
-
A holiday book
-
A picnic book
-
Grandparents book
-
Learn more books ( on any subject of the chids interest)
-
Tell a story
Making the books without the aid of a computer is always more fun. We did the layout the old fashioned way, arranging the pages in the correct order and doing cut and paste with scissors and tape. Then we had regular copies made. You can hand write or draw on the pages, making this project appropriate for even the littlest bookbinders.
To make a simple one, similar in appearance to a hardback book, all you need is a few readily available supplies.
SUPPLIES REQUIRED
|
|
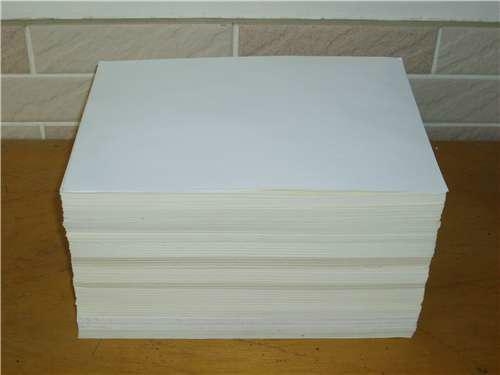
Copier paper or typing paper (I prefer copier paper because it is thicker) |
|
|
Ruler |
|
|
Pen |
|
|
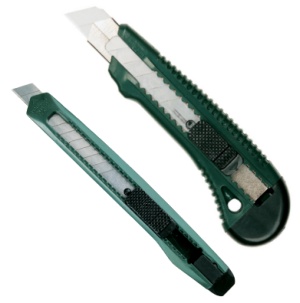
sharp craft knife |
|
|
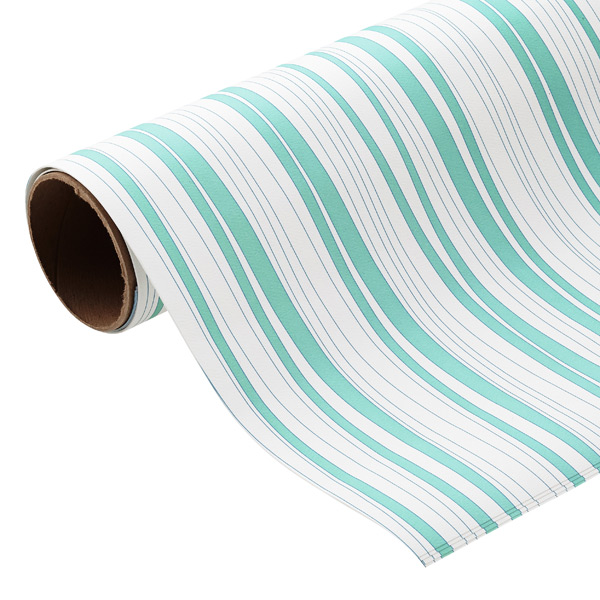
Adhesive shelf paper |
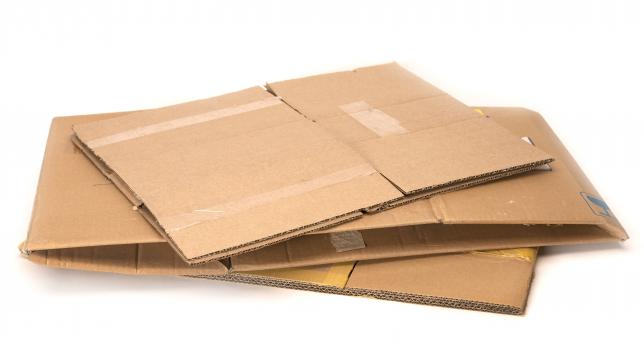 |
Cardboard |
|
|
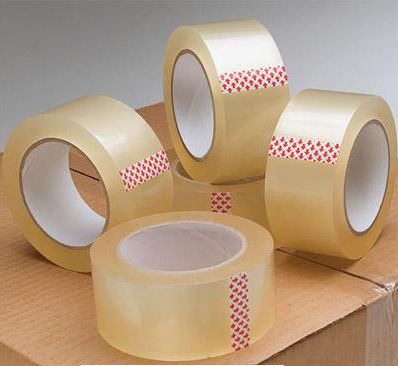
Packaging tape |
|
|
Button thread or other thick thread |
|
|
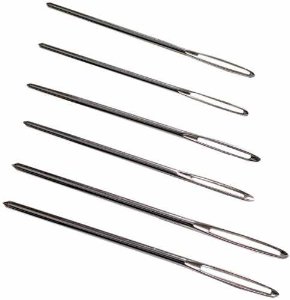
Large needle |
|
|
Rubber Cement or glue |


How To :
-
To make a 14 page book you will need 8 sheets of 8 1/2 x 11 paper. Fold the paper in half to form a 16-page booklet measuring 8 1/2 x 5 1/2. Thread your needle with about 24 inches of heavy thread.
-
Beginning at one end of the booklet’s center crease, sew large stitches about 1 inch apart. Leave a 2 inch ‘tail’ hanging from the first needle hole. When you reach the end of the crease, turn the booklet over. Now sew back, bringing the needle through the same holes on the other side of the book. When you are finished stitching the pages together, tie the two ends of your thread together on the outside of your booklet. Trim the ends.
-
Cut two 6 x 9 inch rectangles from cardboard. You may find the craft knife makes neater cuts than scissors. Lay the cut pieces side by side, leaving a half inch space between them. Cover the center gap with packaging tape, attaching the cardboard pieces together. This is the spine of your book. If you tape the front and back covers together without leaving the space between them, your book will not shut!
-
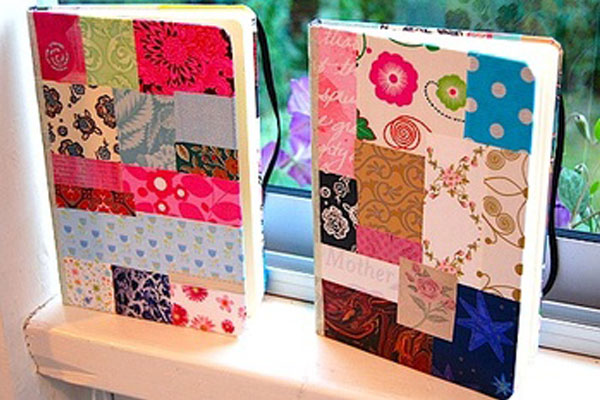
Cut a piece of adhesive backed shelf paper 15 x 20 inches. Do not peel off the backing yet! Place your book cover in the center of the shelf paper. At each corner you will want to trim off a triangle before you peel the backing from the adhesive paper. Mark a diagonal line about one half inch from the corner of the paper and trim. Now peel off the backing from the shelf paper and place your book cover in the center on the sticky side of the paper. Fold over the edges and your cover is done.
-
Now it is time to put the pages and the cover together. Place the closed pages into the open cover, putting the center of the booklet, sewn edge in, at the center of the book cover’s spine. Tape it in place. Repeat the process on the other side.
-
The first and last pages of your booklet are the endpapers. Glue the first page flat against the cover. To keep the end paper from pulling out of place, prop the book at a 45 degree angle until the end paper is completely dry. After it dries, finish the job by gluing the last page to the other side of the book cover.
IDEAS FOR YOUR BOOK
-
A book of me
-
A holiday book
-
A picnic book
-
Grandparents book
-
Learn more books ( on any subject of the chids interest)
-
Tell a story
Making the books without the aid of a computer is always more fun. We did the layout the old fashioned way, arranging the pages in the correct order and doing cut and paste with scissors and tape. Then we had regular copies made. You can hand write or draw on the pages, making this project appropriate for even the littlest bookbinders.


