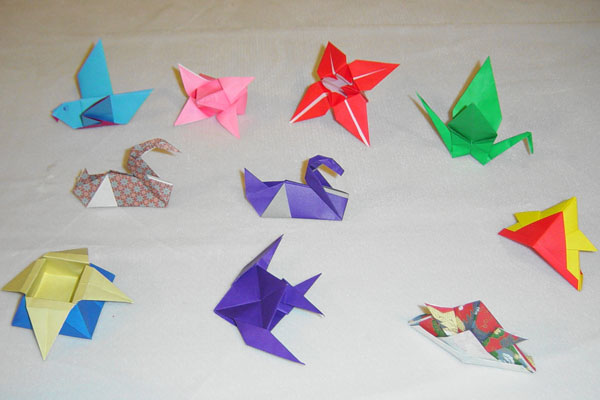
 You can create an amazing number of objects using this ancient art of folding – here’s one that will liven any table. You need squares of paper that are coloured on one side and white on the other and a pair of scissors.
Here are a few tips :
- Fold on a flat surface
- Make your folds straight and accurate
- Crease your folds by running your nail over them
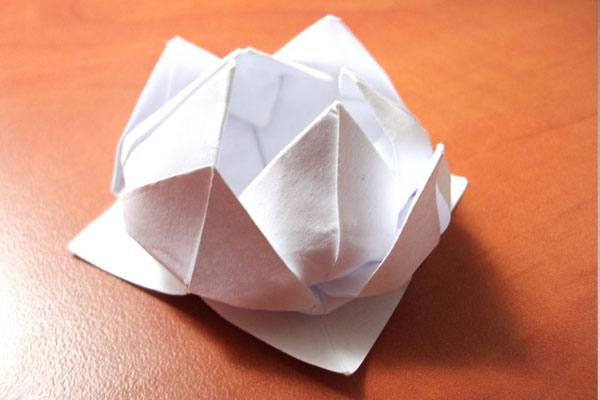
Water lilies
1. Fold and unfold the square in half with the white side on top.
2. Fold and unfold in half from bottom to top.
3. Fold the corners to meet in the middle.
4. Your paper now is diamond shaped with the coloured side on top.
5. Again, fold the corners to meet in the middle.
6. Fold the corners to meet in the middle a third time.
7. You now have three layers of paper containing twelve corners.
8. Turn the paper over. Fold the corners in to meet in the middle for the final time.
9. Fold over a little of one corner.
10. Hold the paper as shown. From the top layer of paper, pull over a corner from behind.
11. Stand the corner upright and shape it into a petal.
12. Repeat the last three steps with all corners.
13. Pull over form behind a corner from the next layer of paper.
14. Repeat for the remaining corners to complete the second layer of petals.
15. Pull over from behind a corner from the final layer of paper.
16. Repeat for the remaining corners.
17. Your water lily is now complete. You can use different coloured papers to create a bouquet.
18. A water lily leaf is easy to make. First fold a green coloured paper square in half with the green side on top.
19. From the open side cut away the shaded part.
20. Unfold the paper and place flat. Place the water lilies on top to complete your centrepiece.


